|
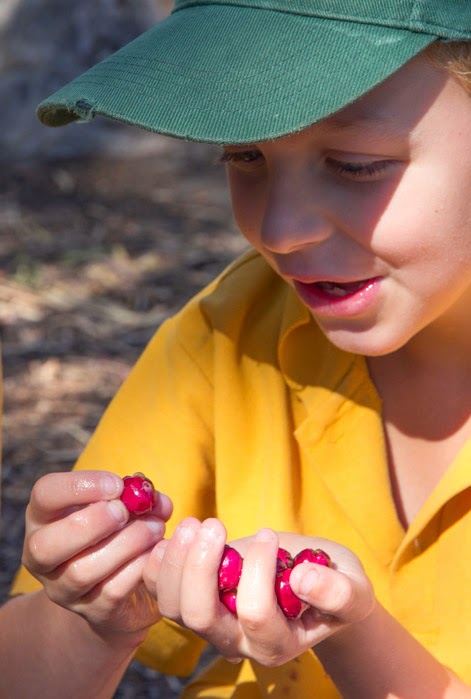
| Lilly Pilly fruit |
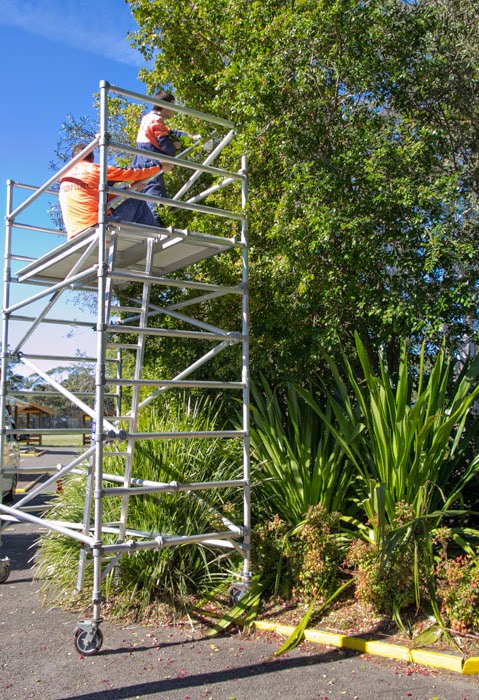
Lilly pilly
are native Australian evergreen bushes that produce small white flowers
followed by pink-mauve fruit. Known to some as the Australian cherry, most
people only known them as an attractive shrub. Lilly pilly fruit can harbour
bugs, which is why I prefer to make a ‘jelly’ rather than a ‘jam’- the
difference between jelly and jam is purely the process. Jelly requires
straining to remove the pulp, jam simply uses the whole fruit (except the
seeds).
Lilly Pilly
Jelly is made in 2 steps- ‘juice’ and ‘jelly’. For the best results, do them a
day apart.
 |
| pitted Lilly Pilly fruit |
Ingredients/Materials for the ‘juice’
1-2kg of
lilly pilly fruit, stone removed.
1 large
lemon (or 2 small lemons)
Water
Large
saucepan or soup pan
Muslin
sleeve or jelly bag (or just a doubled over layer of loose weave muslin)
Colander
Large jug
(not a plastic one)
Ingredients/Materials for the ‘jelly’
Fruit
‘juice’
Sugar
Pectin
(Pectin is in most fruit and is a natural gelling/thickening agent. When we
made our jelly, there was sufficient pectin in the fruit for the jelly to set
without needing to add extra. Some fruit have very low levels and will require
commercially bought dried pectin- found near the sugar in most supermarkets.)
Jam jars
Sugar
thermometer
Process - Juice
- Cut the lilly pilly in half to remove the stone
then place into a large saucepan or soup pot
-
Add sufficient water so that the fruit is just
covered by it.
- Slice up the lemon, squeezing the juice into the
pot and cutting the rind into chunks before adding. If there are any seeds-
these are full of pectin so add them in too!
- Gently simmer the fruit until the liquid has
gone the colour of the fruit and the fruit has lost most of its colour (about
15 minutes). Don’t let it boil.
- Sterilise the muslin by boiling it in water for
around 5 minutes.
- Place the colander over the jug, then stretch
the muslin out over the colander. Make sure it is stable and able to hold the
quantity of liquid and fruit in your pot.
- Take the fruit off the heat then gently pour it
through the colander. The liquid will pool in the jug leaving the fruit pulp,
lemon skin and seeds behind.
- For the best results, leave it in a safe stable
position and let it drip overnight. Don’t squeeze the muslin to get out extra
juice- this will cloud your final product and may introduce extra bacteria into
the mix.
You can store the juice in the fridge
overnight if it has already dripped out. Compost the fruit pulp once it has
finished draining.
 |
| draining the juice from the cooked fruit |
Process
– Jelly
- Place 2-3 small ceramic plates into the freezer-
you’ll need these later for the jelly.
- Measure out the amount of juice you have made
into the large pan. Don’t put more than 1.5L into the pot of it will bubble
over too far. If you have more than that, reserve it and make a second batch.
- For every full cup of juice, add ¾ of a cup of
sugar to the pot. (You can modify this amount but the jelly is less likely to
set with less sugar.)
- Gently warm the mixture until there are no more
sugar granules left on the bottom of the pan.
- While the mixture is warming, wash your jam jars
and lids in boiling hot water and place into the oven on a tray. Turn the oven
to 110`C and leave them to sterilise.
- Bring the mixture slowly up to a rolling boil. Be careful that the
liquid doesn’t bubble over the pot. It
should take at least 10 minutes to get it to a rolling boil as this lets a
little more water evaporate out. You will need to keep it at a rolling boil for
3 minutes depending on the sugar and pectin content.
 |
| boiling juice |
- When large bubble start forming towards the top
of the pot, check the temperature of the mixture with a sugar thermometer. Pectin
activates at between 103`C and 105`C and it needs to be in this temperature
range for at least 3 minutes to get the pectin & sugar to gel.
- Take out one of your freezer plates. Dribble a
small amount of liquid onto the cold plate, wait 30 seconds then run your
finger through it. If you can see small wrinkles forming when you do so, it is
ready to bottle. If there are no wrinkles, keep boiling for a few minutes more
then repeat.
A.
If there are no wrinkles forming after around
8min at a rolling boil, turn the heat down until you just have a liquid. While
the mixture is still hot but not bubbling, add pectin (according to the packet
instructions) then bring back up to the boil.
- When you have wrinkles on your plate, remove the
jam from the heat.
- Take the jam jars out of the oven and pour the
jam into them. Be careful as both the jars and the jelly is going to be
extremely hot! You may want to use a glass or ceramic pourer to get the hot
jelly from the pan to the jars.
- Once the bottles are filled almost to the top,
put the lids on and let them cool without shaking.
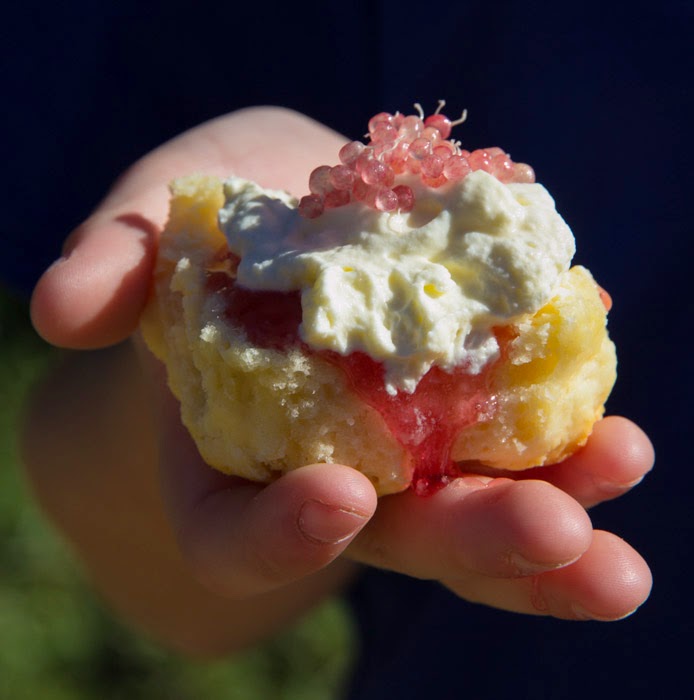
 |
| Lilly Pilly Jelly |
Jars sterilised in this way can last
on the shelf for a few months. Once opened either finish the jelly off within 2
weeks in the cupboard, or refrigerate it to keep it longer.
It is possible to make a sugar-free
(or almost sugar-free) jelly by increasing the pectin levels. The pectin needs
a little bit of sugar to start the binding process but it can be done to a
ratio of 1 cup juice to ¼ cup sugar or even 2 cups juice to ¼ cup sugar. With
so little sugar for the pectin to work with, it won’t bind very well resulting
in a runny end result. Too much pectin can also make ‘gummy’ jelly. Having said
this, less sugar gives a gives a stronger lillypilly flavour. Deliciously tart
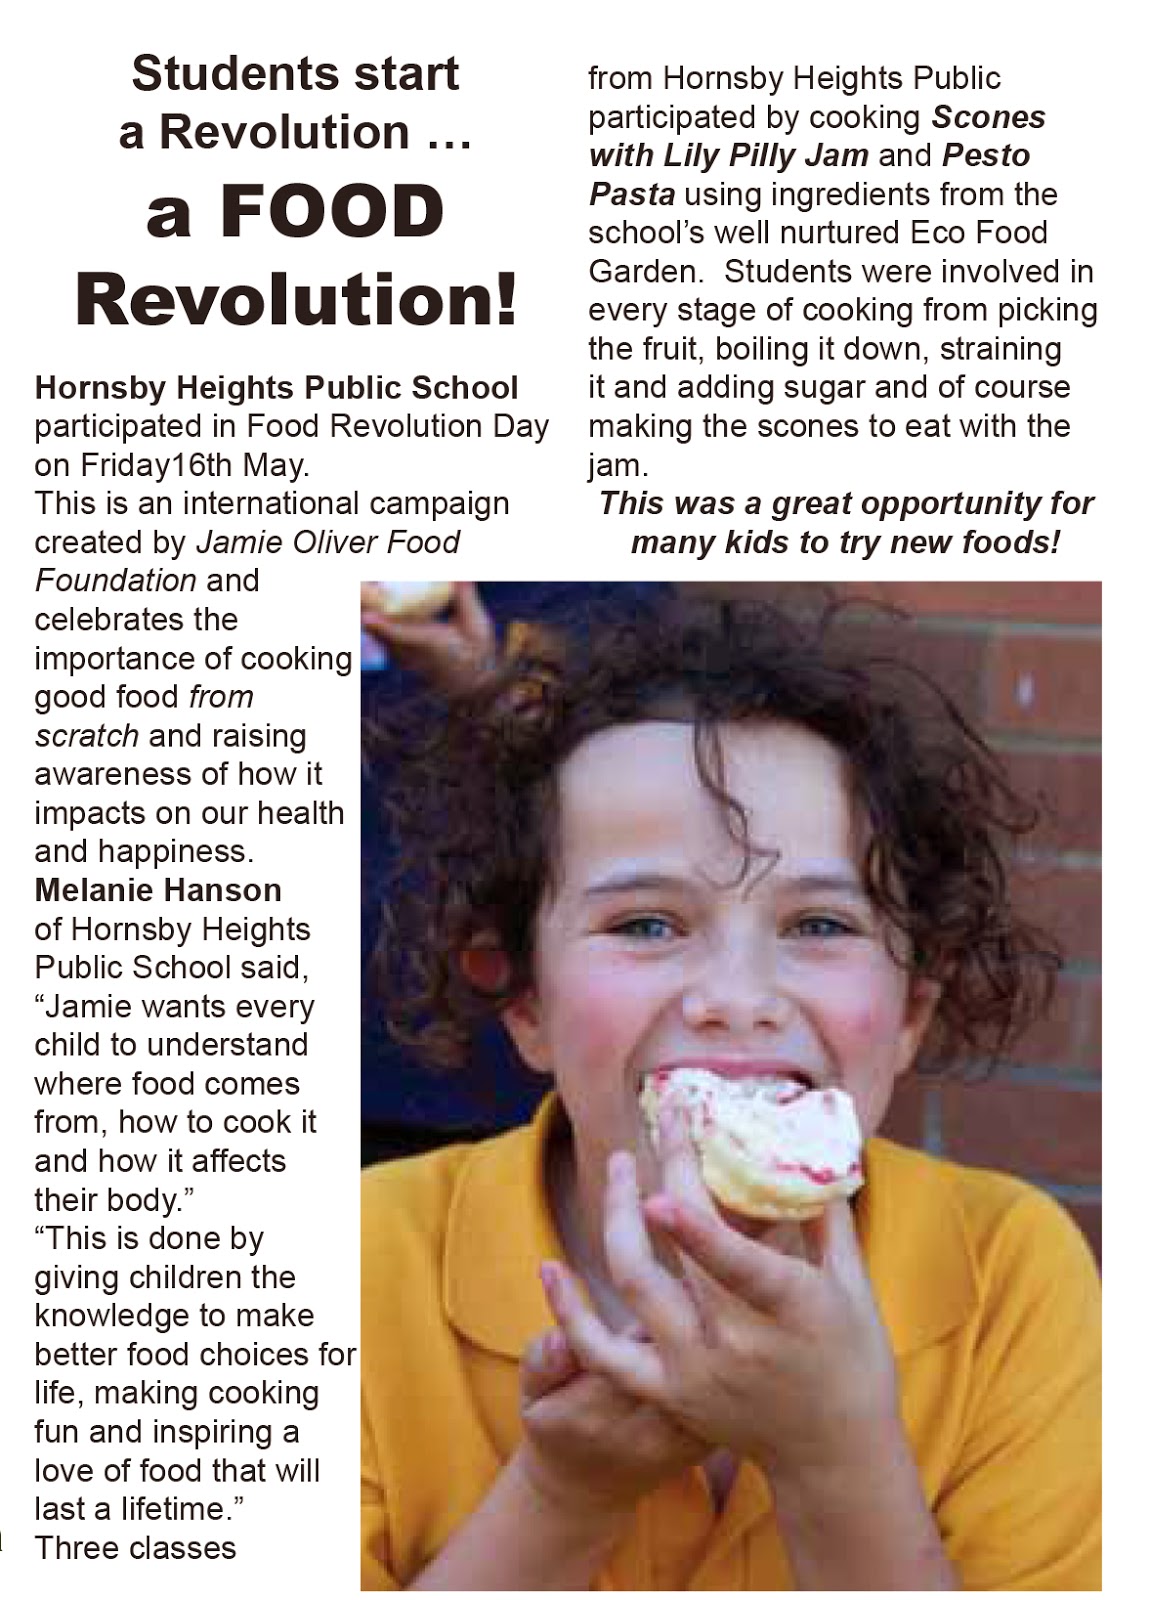
with scones or sweet pastry, it won’t keep for long and MUST be refrigerated!